
First thing’s first: this recipe (and pretty much all of my recipes, at this point in my food journey) are still “in development”. This means that, although the recipe will certainly guide you to culinary success and happy taste buds, I am rarely satisfied enough with a dish to call it “complete” or “perfect”. On top of that, I am a (very proud) Black American woman from North Carolina who has traveled and eaten a bunch, yes, but I am nowhere near an expert on Thai cuisine. I’ve still got plenty of learning and growing to do. From all of the tasting, the recipe-reading, and the Travel Channel- and Food Network-watching, I’ve gathered that Thai food is all about balancing sweet, sour, salty, and spicy (or hot) flavors. Some even add in bitterness and creaminess as other sensations favored by Thai cuisine. All Thai dishes include at least two of these flavors and many include all four. So when I adapted my Thai carrot soup recipe from this Minimalist Baker recipe, I sought to incorporate at least the four foundational flavors – sweetness, saltiness, and spiciness and sourness.
This soup is made mostly from common ingredients – things that you may already have at home or that you know the local supermarket carries all year long. Not only is the soup easy to make and versatile, but it’s also pretty healthy too! You can even make it vegan by making one quick substitution. Learn more about how to whip up your own Thai carrot soup with these tips and a full recipe below.
What ingredients you’ll need
- Yellow onion
- Garlic
- Carrots
- Red bell pepper
- Broth (chicken or vegetable)
- Coconut milk
- Peanut butter (creamy)
- Salt & pepper
- Fresh basil (sweet or Thai basil), cilantro or mint
- Sriracha or red pepper flakes
- Limes
- Optional:
- Ground ginger
- Crushed peanuts
- Chili garlic paste/sauce
What equipment you’ll need
For softening the vegetables you can either saute them in the bottom of your large soup pot or use a sheet pan to roast them in the oven prior to making your soup.
Other tools that will be needed:
- Knife and cutting board
- Immersion blender OR food processor
- Measuring cups/spoons
- Large spoon or rubber spatula for stirring
- Ladle for serving
Potential substitutions & modifications
Use butternut squash instead of carrots

Either grab a whole butternut squash or check your local supermarket for butternut squash that has already been diced. If using a whole squash, remove the center/seeds and dice the rest of the flesh down into 1/2″ cube pieces. The smaller the pieces, the quicker they will cook so keep that in mind.
Butternut squash is less sweet than carrots typically, but the peanut butter will bring some of that sweetness back and keep the soup’s flavor in balance.
Make your Thai carrot soup vegan
It’s really easy to make this soup completely vegan. Instead of using chicken broth, use vegetable broth or stock!
Immersion blender vs. food processor
Whether you use an immersion blender or food processor is completely up to you and what equipment you have at home. I just will go over the practical pros and cons for each method because the flavor will remain the same – bomb AF.
Immersion Blender

PROS – Simple to use, doesn’t take a up a bunch of storage space, easy to clean usually
CONS – Splashing happens and it’s really hard to get every single lump and chunk out of the soup
RESULT – The soup will likely still have some chunks in it unless you really take your time and get every single piece of carrot, pepper, onion, and garlic. This just lends itself to a more rustic type of soup presentation, and that is perfectly fine! I like to think of the bowl of soup with the whole carrot slice in it as the lucky one.
Food Processor

PROS – Ensures a silky smooth soup finish, usually keeps all liquids contained so there’s less splashing (if transferred and poured carefully)
CONS – It takes more time to pour soup into a food processor and, unless you’re only making a small pot of soup or you have a really large food processor, the soup will need to be blended in batches
RESULT – If you’re looking for a more fine-dining restaurant quality to your finished soup, go ahead and take the time to pour it into the food processor in however many batches it takes. The color plus the smooth finish will be beautiful in any bowl you decide to serve it in.
How to make Thai carrot soup
Prep, cook, and season your vegetables
You should always prep all of your ingredients before you start cooking, but especially with a dish with steps that move rather quickly. There are only a few minutes between the time when you should add the onions, peppers, carrots, and garlic, so having them all prepped and ready will be way less stressful once you get started.
Wash your vegetables. Peel and slice your carrots. Wash and dice your red bell pepper. Peel and dice half an onion and cloves of garlic.
The onion and garlic should be diced not minced. You don’t want them so small that they burn while the carrots and peppers are caramelizing.
Once all of the vegetables are diced, heat a tablespoon of olive oil in the bottom of a large pot with a lid. Heat the oil to a medium heat then add your diced onion. You want the onion to begin to soften and release some of that wonderful flavor back into the oil before adding anything else. After 1-2 minutes and an occasional stirring, add the bell pepper and carrot to the pot. The goal is to get some caramelization going to build the flavor as well as beginning to soften the vegetables so they can be blended later. Make sure to stir occasionally to keep the onion from burner and to allow different sides of the vegetables to caramelize.
After another 2 minutes, add the garlic and reduce head to medium low. Season the vegetables with salt and pepper then stir to coat everything in seasonings. At this point, you can continue cooking for 5 minutes, still stirring occasionally to make sure nothing is sticking or burning, until the vegetables have all browned nicely.

Add liquid to finish softening process
To soften the vegetables, liquids are introduced. You could use water to finish boiling and softening the vegetables, but broth provides so much additional flavor AND serves the function of softening the carrots/peppers/onions/garlic before blending.
I use chicken broth usually, but vegetable broth works and will make this recipe vegan, so give it a try! Boiling time will depend on the size of your vegetables, but 20-25 minutes on a low simmer in broth is usually more than enough time. Feel free to boil for longer if you think the vegetables aren’t soft enough to blend, but be careful not to leave them in too long. Boiling the vegetables for too long will turn them into mush, completely change the texture of the soup, and deplete their nutritional value.
Blend, reduce, and season (again)
Once the vegetables are soft enough to blend, the fun begins. Either use an immersion blender or food processor to turn your chunky vegetable soup into a creamy mixture. Be careful to protect yourself from hot, splattering carrot liquid because it will go flying (especially if you’re using an immersion blender). I tend to use the lid of my soup pot like Captain America’s shield to block any wayward soup splatter.
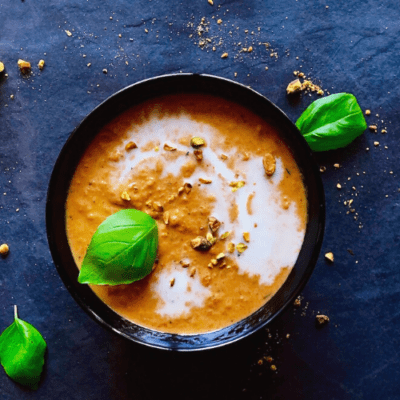
Really take your time and blend all of the vegetable pieces down as small as you can. It’ll make for a smoother finish and cooler presentation, I think. After blending, return all of the soup to the pot. Reduce the temperature to low because all of the cooking is pretty much done. All that’s left is to add the final touches: salt and pepper (to taste), peanut butter (for some salty-sweetness), coconut milk (for creaminess), and a little sriracha or chili garlic sauce (if everyone enjoys a little spice). I really like the taste of ginger, so I add ground ginger to my soup at this step, but this is completely optional.
Let these flavors come together for another 5-10 minutes and then your soup is ready to garnish and serve! I’ve included a list of some additions to your Thai carrot soup below so feel free to use those suggestions or get creative and garnish your soup with your favorite fresh and crunchy ingredients.
Garnishes for and additions to your Thai carrot soup
- Fresh-squeezed lime juice
- Fresh basil, mint or cilantro
- Chili garlic sauce or sriracha
- Thinly sliced red bell pepper (fresh or roasted)
- Crushed peanuts
You could also enjoy the following with your soup:
- Cilantro lime rice
- Sauteed shrimp or chicken (marinate or season with salt, pepper, garlic powder, red pepper flakes, lime juice, chili garlic sauce, soy sauce and/or peanut butter all mixed together into a thick sauce)
- Grilled jerk chicken or shrimp
- Roasted vegetables
- Toasted baguette slices, crackers, etc.
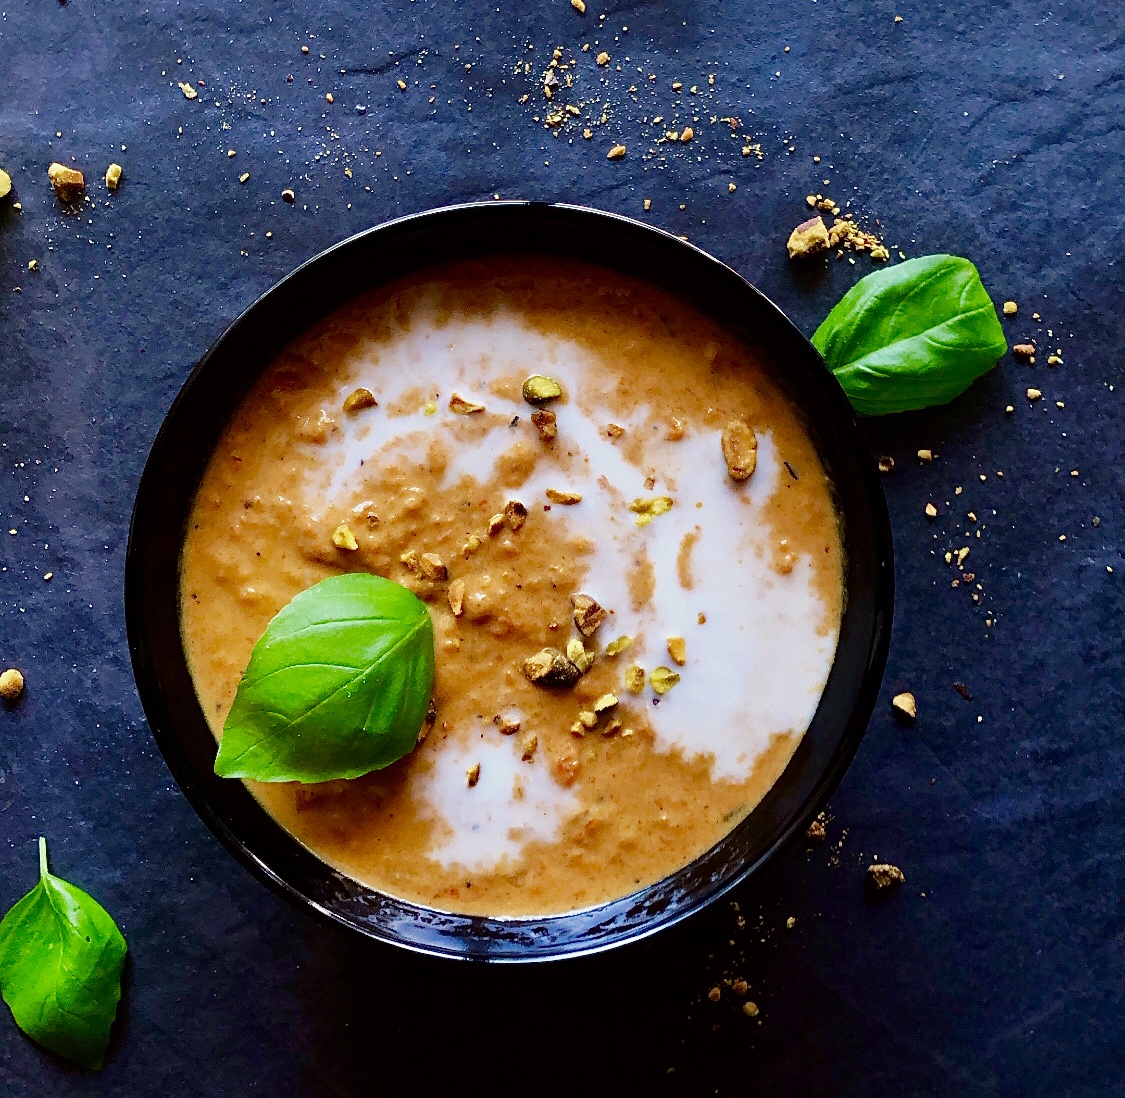
You can probably add anything you love to the soup and it’ll be delicious. This bowl of soup is evidence of that. Kinda random, I know, but it was soooo good. So do you and never be afraid to try new things!
Thai Carrot Soup
Ingredients
- Olive oil
- 1/2 yellow onion, diced
- 4 ish garlic cloves, diced
- 6-7 large carrots, peeled and sliced into ¼” pieces
- 1 red bell pepper, diced
- 24 oz. chicken or vegetable stock/broth
- 2 tbsp creamy peanut butter
- 1/2 cup coconut milk
- 1 teaspoon salt
- 1/2 teaspoon black pepper
- 1/2 teaspoon red pepper flakes, adjust for your spice tolerance
- 1/4 teaspoon ground ginger
Garnish, optional but recommended
- Fresh basil
- Fresh cilantro
- Sriracha or chili garlic sauce
- Lime juice
- Crushed peanuts
- Thinly sliced red bell pepper, raw or roasted
Instructions
- Start by dicing and organizing your vegetables before you put anything into the pot, because this will go pretty quickly.
- Heat 1 tbsp of olive oil in a medium-sized pot over medium heat. Add onion and bell pepper and allow to cook for 2 minutes or until they begin to soften. Add garlic and continue cooking until it becomes fragrant.
- Add sliced carrots to the pot and continue cooking until there is caramelization on all of the vegetables (about 3-5 more minutes).
- Season with about half of your salt and pepper.
- Add broth and bring to a boil then reduce to a low boil and continue cooking for 20-25 minutes or until the carrots are soft and mash very easily.
- Now, take an immersion blender or carefully transfer the contents of the pot to a blender or food processor and blend until the soup is a uniform, smooth consistency.
- Return contents to the pot and reduce heat to low.
- Add the remaining seasoning along with the peanut butter and coconut milk, then stir to combine.
- Let the flavors come together for another 5 minutes before serving.
- Garnish with basil, cilantro, red bell pepper, and/or crush peanuts to take this soup to the next level.
Notes
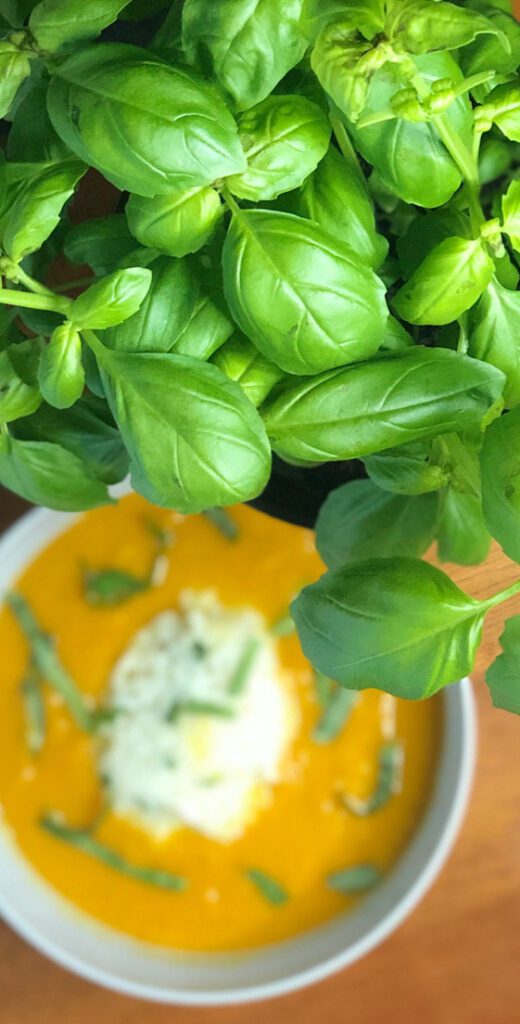
- Thai carrot soup is paired with coconut cilantro rice in the photo.
- This soup can be enjoyed hot or chilled. If you plan on serving it chilled, I’d suggest blending the soup with a food processor or regular blender to ensure the texture is silky smooth. The chunky texture can be a bit off-putting when cold.
Subscribe for more recipes like this
Sign up for weekly emails, free recipes, and access to our shared recipe folder where you can view and download more than 50 of my recipes!


Leave a Reply