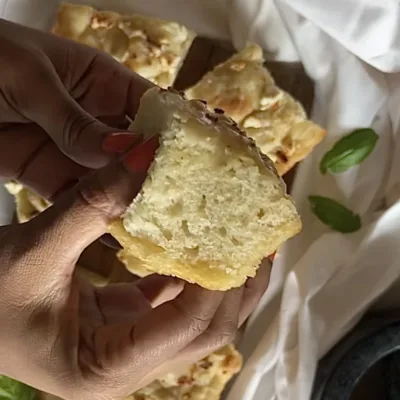
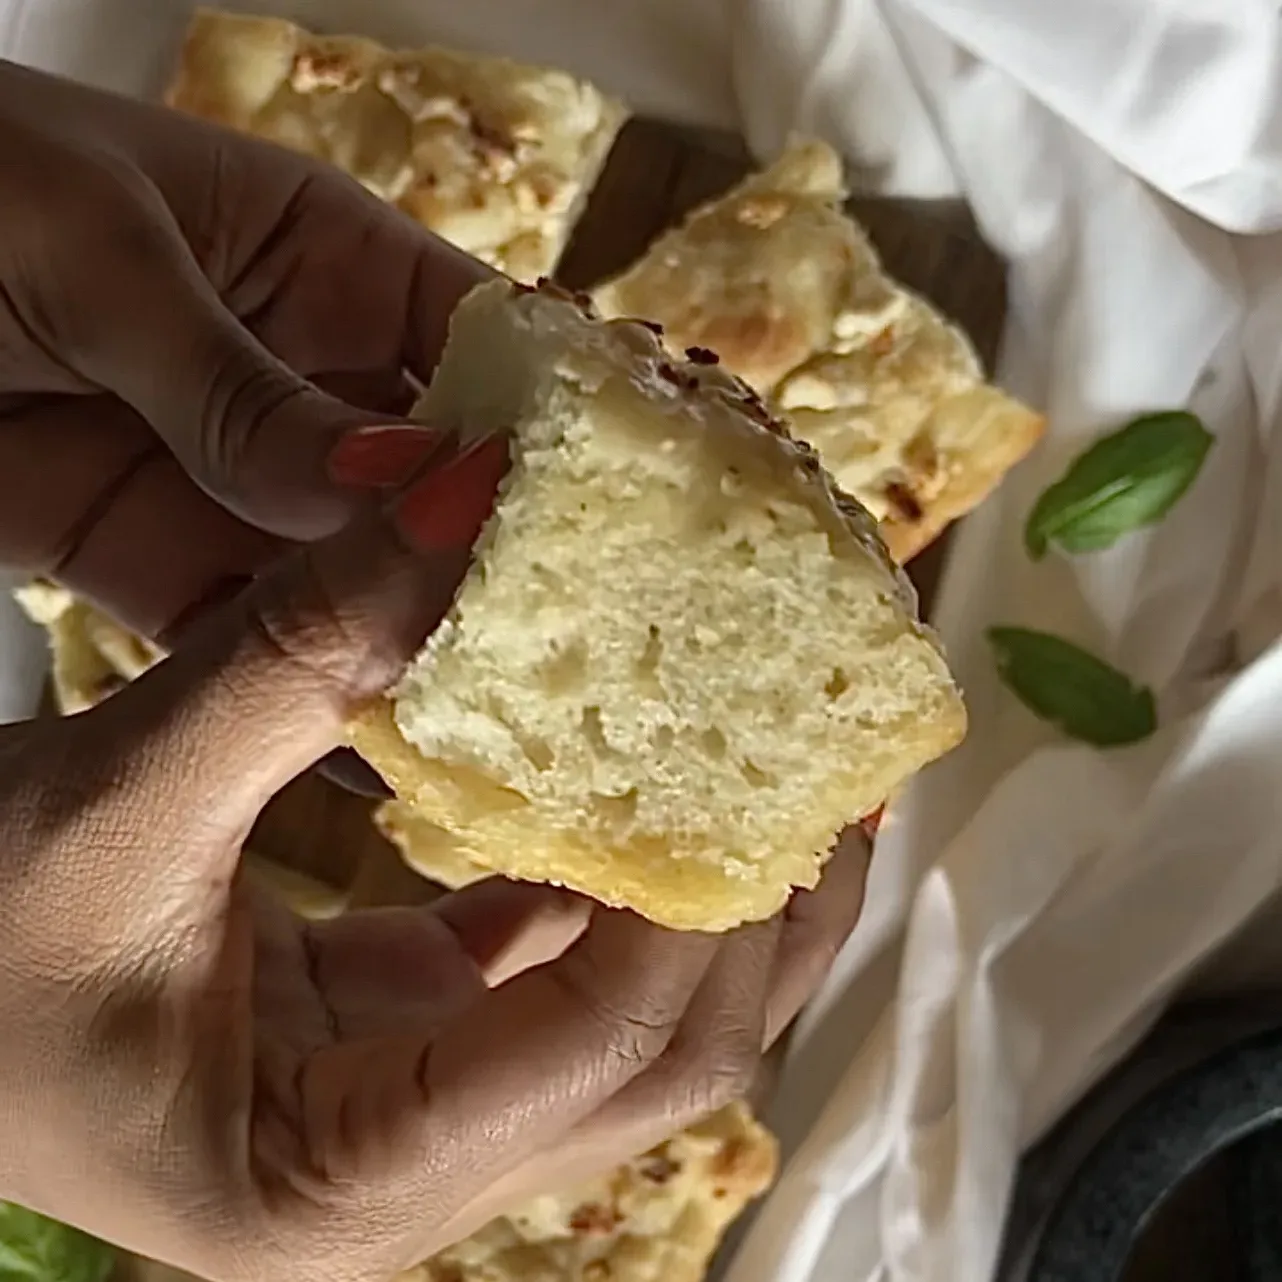
Are you looking for a delicious and easy-to-make bread recipe that is perfect for any occasion? Look no further than garlic feta focaccia! This Italian flatbread is seasoned with olive oil and salt and topped with the tangy goodness of feta cheese and the bold flavor of garlic. As a first-time focaccia baker, I was thrilled with the result of this garlic feta focaccia recipe. The sandwiches made using the bread were a hit amongst friends, and I can’t wait to share the recipe with you. In this post, I’ll share my step-by-step process for making this delectable focaccia bread, along with some tips and tricks I learned along the way. Let’s get baking!
Your grocery list for garlic feta focaccia
Pantry items
- All-purpose flour
- 1 packet (or 2 and 1/4 teaspoon) of active dry yeast
- Extra virgin olive oil
- Kosher salt (for the dough)
- Honey
- Flaky sea salt (for garnish)
Dairy
- Unsalted butter
- Feta cheese
Produce
- Garlic cloves
Equipment/tools you’ll need
- Digital scale
- Microplane
- Pastry brush
- Metal baking pan or cast iron skillet
- Rubber spatula
- Measuring cups/spoons
- Mixing bowls (1 medium, 1 large)
- Whisk
- Fork
- Small saucepan
What’s focaccia?
Focaccia is a type of Italian flatbread that is similar to pizza dough. It is typically seasoned with olive oil and salt and can be topped with a variety of ingredients such as garlic, rosemary, tomatoes, and cheese. Focaccia bread is often served as an appetizer, used as a sandwich bread, or as a side dish to accompany a meal.
Steps to making a delicious focaccia
Step 1
Whisk one ¼-oz. envelope active dry yeast (about 2¼ tsp.), 2 tsp. honey, and 2½ cups lukewarm water in a medium bowl and let sit 5 minutes (it should foam or at least get creamy; if it doesn’t your yeast is dead and you should start again—check the expiration date!).
Step 2
Add 5 cups (625 g) all-purpose flour and 5 tsp. Diamond Crystal or 1 Tbsp. Morton kosher salt and mix with a rubber spatula until a shaggy dough forms and no dry streaks remain.
Step 3
Pour 4 Tbsp. extra-virgin olive oil into a big bowl that will fit in your refrigerator. This puppy is going to rise! Transfer dough to bowl and turn to coat in oil. Cover with a silicone lid or plastic wrap and chill until dough is doubled in size (it should look very bubbly and alive), at least 8 hours and up to 1 day. If you’re in a rush, you can also let it rise at room temperature until doubled in size, 3–4 hours.
Step 4
Generously butter a 13×9″ baking pan, for thicker focaccia that’s perfect for sandwiches, or an 18×13″ rimmed baking sheet, for focaccia that’s thinner, crispier, and great for snacking. The butter may seem superfluous, but it’ll ensure that your focaccia doesn’t stick. Pour 1 Tbsp. extra-virgin olive oil into center of pan. Keeping the dough in the bowl and using a fork in each hand, gather up edges of dough farthest from you and lift up and over into center of bowl. Give the bowl a quarter turn and repeat process. Do this 2 more times; you want to deflate dough while you form it into a rough ball. (We learned this technique from Alexandra Stafford, who uses it to shape her no-knead bread.) Transfer dough to prepared pan. Pour any oil left in bowl over and turn dough to coat it in oil. Let rise, uncovered, in a dry, warm spot (like near a radiator or on top of the fridge or a preheating oven) until doubled in size, at least 1½ hours and up to 4 hours.
Step 5
Place a rack in middle of oven; preheat to 450°. To see if the dough is ready, poke it with your finger. It should spring back slowly, leaving a small visible indentation. If it springs back quickly, the dough isn’t ready. (If at this point the dough is ready to bake but you aren’t, you can chill it up to 1 hour.) Lightly oil your hands. If using a rimmed baking sheet, gently stretch out dough to fill (you probably won’t need to do this if using a baking pan). Dimple focaccia all over with your fingers, like you’re aggressively playing the piano, creating very deep depressions in the dough (reach your fingers all the way to the bottom of the pan). Drizzle with remaining 1 Tbsp. extra-virgin olive oil and sprinkle with flaky sea salt. Bake focaccia until puffed and golden brown all over, 20–30 minutes.
Step 6
Hold off on this last step until you’re ready to serve the focaccia: Melt 4 Tbsp. unsalted butter in a small saucepan over medium heat. Remove from heat. Peel and grate in 2–4 garlic cloves with a Microplane (use 2 cloves if you’re garlic-shy or up to 4 if you love it). Return to medium heat and cook, stirring often, until garlic is just lightly toasted, 30–45 seconds. (Or, if you prefer raw garlic to toasted garlic, you can grate the garlic into the hot butter, off heat, then brush right away.)
Step 7
Brush garlic-butter all over focaccia and slice into squares or rectangles.
Thick vs. thin focaccia: when to use which type
Focaccia bread can come in different thicknesses, and it depends on how you plan to use it. As a general rule of thumb, classic Italian-style pizza crust is typically less than half an inch thick, while most focaccia is at least three [2] to four inches thick.
Thick focaccia is traditionally 3-4 inches thick and is best used for:
- Sandwiches
- On the side of soup and salads
Thin focaccia is less than an inch thick and is best used for:
- Pizza
- Flatbreads
- A base for appetizers, spreads, and dips
Can I make focaccia ahead of time?
Of course! Follow all the same steps and allow the focaccia dough to rest overnight in the fridge with or without the toppings. Bring to room temperature for at least 1 hour before baking.
How should I store focaccia?
Focaccia bread should be stored at room temperature in a sealed ziplock bag or airtight container to prevent it from drying out.
If it is topped with fresh vegetables, it is best to refrigerate it to prevent mold growth. It can also be frozen for up to a month in an airtight container.
Focaccia is best eaten the day it’s made, but keeps well in the freezer.
To freeze focaccia: Slice it into pieces, store it in a freezer-safe container for up to 1 month, then reheat it on a baking sheet in a 300° F oven.
No-Knead Feta and Herb Focaccia
Ingredients
- 2 cups warm water, between 100–110°F, 38–43°C
- 2 teaspoons granulated sugar
- 2 teaspoons instant or active dry yeast, slightly less than 1 standard packet
- 1/4 cup extra virgin olive oil
- 1 Tablespoon kosher salt
- 4½-5 cups all-purpose or bread flour, 563–625g – spooned & leveled, plus more for the counter/your hands
For Toppings & Assembly
- 5 Tablespoons extra virgin olive oil, divided and more as needed
- 3 garlic cloves, minced
- ½ cup crumbled feta cheese, plain or flavored
- A generous sprinkle of coarse salt and freshly ground black pepper
Instructions
Prepare the dough
- Whisk half of the water (1 cup; 240ml), 2 teaspoons sugar, and 2 teaspoons yeast together in the bowl of your stand mixer fitted with a dough hook or paddle attachment. Cover and allow to rest for 5 minutes.
- Add the remaining water, olive oil, salt, and 1 cup (130g) flour. Beat on low speed for 20 seconds, then add 3 and 1/2 cups (440g) more flour. Beat on low speed for 2 minutes. If the dough is still sticking to the sides of the bowl, add the last 1/2 cup (60g) of flour. Turn the dough out onto a lightly floured surface. With lightly floured hands, knead the dough for 4–5 full minutes. The dough can be a little too heavy for a mixer to knead it, but you can certainly use the mixer on low speed instead. If the dough is too sticky as you knead, add more flour 1 Tablespoon at a time. The dough should still feel a little soft, but shouldn’t stick your hands. Poke it with your finger—if it slowly bounces back, your dough is ready to rise. If not, keep kneading.
Let the dough rise
- Lightly grease a large bowl with a teaspoon of oil or some nonstick spray—just use the same bowl you used for the dough. Place the dough in the bowl, turning it to coat all sides in the oil. Cover the bowl with aluminum foil, plastic wrap, or a clean kitchen towel. Allow the dough to rise at room temperature for 2–3 hours or until double in size. (Tip: For the warm environment on a particularly cold day, heat your oven to 150°F (66°C). Turn the oven off, place the dough inside, and keep the door slightly ajar. This will be a warm environment for your dough to rise. After about 30 minutes, close the oven door to trap the air inside with the rising dough. When it’s doubled in size, remove from the oven.)
Prepare the pan
- Generously grease a 12×17-inch baking pan (with at least 1-inch-tall sides) with 2 Tablespoons of olive oil. This is the base layer of the bread, so be generous with the oil. A pastry brush is helpful to spread it.
- Flatten the dough: When the dough is ready, punch it down to release any air bubbles. Place on the oiled baking pan, then stretch and flatten the dough to fit the pan. Don’t tear the dough. If it’s shrinking (mine always does), cover it with a clean towel and let it rest for 5–10 minutes before continuing. This lets the gluten settle and it’s much easier to shape after that.
Let the dough rest
- Cover the dough tightly and let it rest in the refrigerator for at least 1 hour and up to 24 hours. The longer it rests, the better the flavor. I recommend at least 12 hours.
- Remove the dough from the refrigerator and let it sit at room temperature as you preheat the oven and prepare the toppings. Keep it covered. It may rise a little during this time, but not much.
- Preheat oven to 450°F (232°C). Allow it to heat for at least 10–15 minutes so every inch of the oven is very hot.
Prepare the toppings
- Whisk the 3 remaining Tablespoons of olive oil with the minced garlic and herbs. Set aside. Using your fingers, dimple the dough all over the surface. You can watch me do this in the video above. Drizzle on the olive oil topping and use your hands or a pastry brush to spread it all over the top. Add a little more olive oil if needed so the dough is completely covered. (This creates the crisp crust!) Sprinkle with a little coarse salt and freshly ground black pepper.
Bake
- Bake for 20–23 minutes or until lightly browned on top. If desired, broil on high for the last minute to really brown the top. Cut and serve hot or let it come to room temperature before slicing and serving. Focaccia tastes wonderful warm or at room temperature. Cover leftover focaccia tightly and store at room temperature for 2 days or in the refrigerator for 1 week. You can also freeze the baked and cooled focaccia for up to 3 months. Thaw in the refrigerator or at room temperature. To reheat the slices, you can use the microwave or bake in a 300°F (149°C) oven for 5 minutes.
Notes
- Freezing Instructions: After the dough rises, punch it down to release the air as instructed in step 5. Freeze the dough or portions of the dough to make at a later time. Lightly coat all sides of the dough ball(s) with olive oil. Place the dough ball(s) into individual zipped-top bag(s) and seal tightly, squeezing out all the air. Freeze for up to 3 months. To thaw, place the frozen dough in the refrigerator overnight. Remove the dough from the refrigerator and allow to rest for 30 minutes on the counter, then continue with shaping the dough to fit the baking pan as instructed in step 5. (Even after thawing, the dough must still rest in the refrigerator as instructed in step 6.)
- Make Ahead Instructions: The is a wonderful recipe to begin the day ahead of time. The dough must rest in the refrigerator for at least 1 hour and up to 24 hours, as instructed in step 6. I’ve let it go for as long as 30 hours and the flavor is incredible. I wouldn’t go past 24-30 hours.
- Special Tools (affiliate links): Stand Mixer | 12×17-inch Baking Pan | Pastry Brush
Smaller Portions: This recipe yields a big pan of bread. You can divide the dough in half and bake smaller portions on 2 baking sheets or 9×13 inch baking pans. If desired, you can divide the dough in half and freeze half of it. Or you can halve the entire recipe. - Yeast: You can use instant or active dry yeast instead. The rise time in step 3 may be a little quicker if using instant yeast. No matter which yeast you choose, you only need 2 teaspoons which is a little less than 1 standard 7g packet. Reference my Baking with Yeast Guide for answers to common yeast FAQs.
- Flour: You can use all-purpose flour or bread flour. All-purpose flour is convenient for most, but bread flour produces a chewier bread. No matter which you choose, the focaccia is still soft and rich with a crispy exterior. Either flour is fine and there are no other changes to the recipe if you use one or the other. You may need slightly closer to 5 cups of flour if using all-purpose.

Leave a Reply