

This is an update on my first all-purpose pie crust recipe, which still works just fine; however, this all-purpose pie or tart crust is made using a different method that I learned from watching Milk Street on Tubi. Anyway, instead of the hassle of trying to determine how much water (somewhere in between 2 and 3 tablespoons) is needed for your crust. Factors like the kind of flour being used and the humidity where you’re baking play a part in exactly how much water make the perfect pie or tart crust. This new method I’ve learned takes all the guesswork out of making a really solid – flaky and delicious – pie or tart crust that can be used for sweet or savory recipes.
Your grocery list
Baking and pantry items
- All-purpose flour
- White sugar
- Kosher salt
- Cornstarch
Dairy
- Unsalted butter
Equipment/tools you’ll need
- Measuring cups/spoons
- Food processor
- Rubber spatula
- Prep mat or clean surface
- Rolling pin
- Pie tin
How to make pie/tart crust (traditionally)?
Usually the flour, salt, and sugar are combined with butter and then a few tablespoons of very cold water are added. This is a pretty simple method, but depending on a couple factors – humidity where you are and the brand of flour (they all absorb water at slightly different levels) – trying to figure out where to land between 2 and 3 tablespoons can be a little tricky.
And once you add too much water to a pie crust, not to be dramatics, but it’s kind of ruined. That is why recipes usually advise you start at 2 and add a little bit at a time until the crust comes together.
What’s different about this method of making pie/tart crust?
This method takes the guesswork out of the moisture measurement. Adding 2 tablespoons of cornstarch to 3 tablespoons of water to create a gel to completely envelope the water molecules during the mixing process and therefore keeps the crust from becoming tough or shrinking during a blind bake. There is a lot of science behind this, but for now, I’m just interested in the part where exact measurements work perfectly every time. We’ll dive into the science more hopefully in the future.
How to store pie/tart crust
Wrap unbaked crust in plastic wrap and store in the fridge for up to a week. If you wrap the unbaked crust and store it in a freezer safe container or bag, that will be good for 2-3 months.
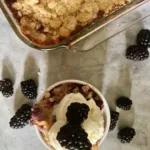
What to make with this pie/tart crust
- Quiche
- Chicken pot pie
- Brown sugar tart
- Pies:
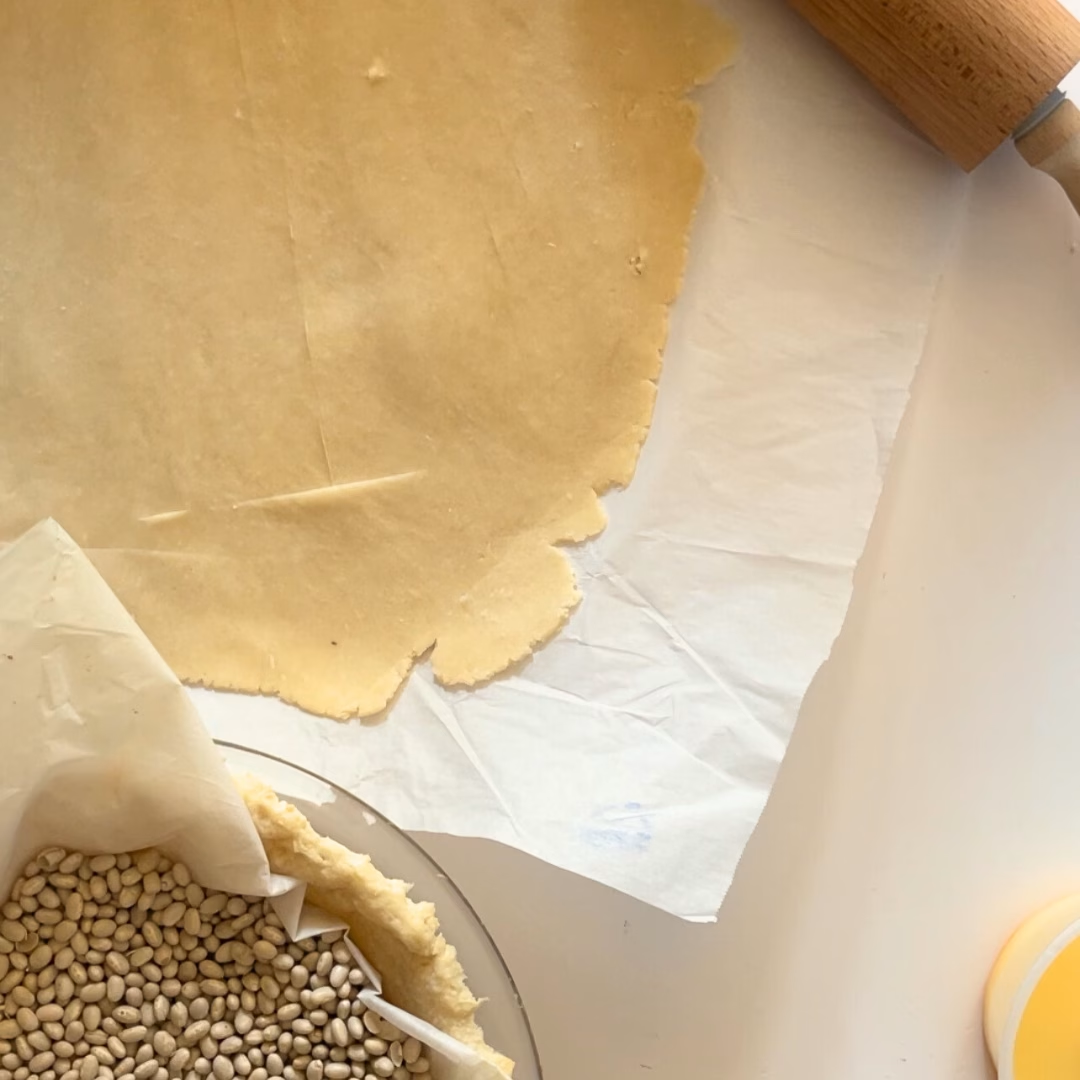
- If the filling is loose like the gravy in chicken pot pie, the bottom shell can be pre-baked (aka blind baking) with pie weights. This helps the bottom crust bake completely instead of being underdone and soggy.
- If you’re not sure, no worries. Most pie recipes will mention explicitly if the bottom crust needs to be baked before filling. If there’s nothing there, fill and bake the pie all at once.
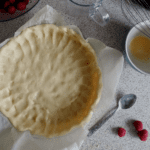
The Perfect Pie/Tart Crust
Ingredients
Cornstarch gel:
- 2 tablespoons cornstarch
- 3 tablespoons water
Dry ingredients:
- 1 cup plus 2 tablespoons all-purpose flour
- 2 teaspoons white sugar
- 1 teaspoon kosher salt
- 10 tablespoons unsalted butter, 1 stick plus 2 tablespoons, very cold or frozen
Instructions
- Mix cornstarch and water in a small dish and microwave for 30 seconds. Freeze until needed in food processor.
- Combine dry ingredients in the well of a food processor and pulse a few times to evenly distribute the ingredients. Dice butter and pulse 20-30 times, until there are no clumps of butter remaining and the mixture’s texture resembles slightly wet sand.
- Add cornstarch gel and mix until the dough comes together in the food processor.
- Remove from the food processor, flatten into a disc and wrap in plastic wrap. If using the same day, let the dough rest for at least 30 minutes. The dough can be stored in the fridge for 5-7 days or in the freezer (in a freezer safe container or bag) for 2-3 months.
Notes
- If doubling the recipe, make sure you use a larger food processor or you may have to help the dough finish coming together in a mixing bowl.
- The dough will be firm when you pull it out of the fridge after resting, so let it sit out on the counter for 5-10 minutes before trying to roll it out. If it’s too cold, the dough will crack when you try to roll it out. Wait 5-10 more minutes.

Leave a Reply