


Are you a fan of salmon? Do you love the bold flavors of Mexican cuisine? If so, you’re in for a treat! In this post, we’re talking quesadillas with a twist. I’ll walk you through the steps of creating mouthwatering salmon fajita quesadillas. Whether you’re planning a brunch, lunch, dinner, or even a party, these blackened salmon fajita quesadillas are sure to impress your guests and satisfy your cravings.
Your grocery list
Produce
- 2 bell peppers (any color)
- 1 onion (I prefer red onions but any onion will work)
- 1 jalapeno pepper (optional)
- Fresh cilantro
- 1-2 limes
Meat/Seafood
- 4 salmon fillets (skin-on) – use this post or the instructions below to cook your salmon before making the quesadillas
Dairy
- Shredded cheese (cheddar, Monterey Jack, or a blend)
- Greek yogurt or Sour cream
- Queso fresco
Bakery
- 8 large flour tortillas
Pantry Items/Spices
- 2 tablespoons chili powder
- 1 tablespoon paprika
- 1 tablespoon dried oregano
- 1 tablespoon garlic powder
- 1 tablespoon onion powder
- 1 tablespoon cumin
- Salt and pepper
- 2 tablespoons olive oil or nonstick cooking spray
- Salsa (optional)
Remember to check your pantry for ingredients you may already have. Groceries are too expensive to buy things you don’t actually need!
Equipment/tools you’ll need
- Skillet or griddle – for sautéing onions and peppers and making quesadillas
- Knife and cutting board
- Small mixing bowl
- Measuring spoons – for dipping sauce, although eyeballing it and tasting as you go works just as well
Why salmon quesadillas?
Salmon is not only delicious, but it also offers a host of health benefits. Packed with omega-3 fatty acids, this flavorful fish is known to reduce the risk of heart disease and provide essential nutrients for your body. By incorporating salmon into your quesadillas, you’re elevating a classic dish with the goodness of this nutrient-rich fish.
Quesadillas, on the other hand, are a versatile and crowd-pleasing option for any meal. With their crispy tortilla exterior and gooey cheese filling, they are loved by kids and adults alike. By combining the flavors of blackened salmon, sautéed onions and peppers, and melted cheese, you create a fusion of Mexican and seafood cuisine that is truly irresistible.
How to make and store roasted garlic
Here are the simple steps to make roasted garlic and some tips on how to store it for future use.
Ingredients needed
– Whole garlic bulbs
– Olive oil
– Salt and pepper (optional)
What to do
1. Preheat your oven to 400°F (200°C).
2. Take whole garlic bulbs and remove any excess loose outer layers, leaving the bulbs intact.
3. Using a sharp knife, slice off the top of each garlic bulb, exposing the cloves.
4. Place the garlic bulbs on a baking sheet or in a baking dish.
5. Drizzle olive oil over the garlic bulbs, ensuring they are well-coated. You can also sprinkle some salt and pepper for added flavor, although this is optional.
6. Cover the baking sheet or dish with aluminum foil, sealing it tightly.
7. Roast the garlic in the preheated oven for about 30-40 minutes or until the cloves become soft and golden brown.
8. Remove the roasted garlic from the oven and let it cool for a few minutes.
9. Once the garlic is cool enough to handle, gently squeeze the bulbs from the bottom, and the soft, roasted cloves will easily pop out.
10. Transfer the roasted garlic cloves to an airtight container or jar.
11. Pour olive oil over the cloves, ensuring they are fully submerged. This helps to preserve the garlic and prevent it from drying out.
12. Seal the container tightly and store it in the refrigerator for up to two weeks.
Tips for storing roasted garlic
- Make sure the roasted garlic is completely cool before storing it. Hot or warm garlic can create condensation in the container, leading to spoilage.
- Always use clean utensils when handling the roasted garlic to avoid introducing any contaminants.
- Label the container with the date to keep track of its freshness.
- If you don’t plan to use all the roasted garlic within two weeks, consider freezing it. Simply transfer the cloves to a freezer-safe container or bag, and store them for up to three months.
How to sauté your onions and peppers
Sautéed onions and peppers are a classic combination that adds a burst of flavor and color to many dishes. Whether you’re preparing fajitas, stir-fries, or even a simple omelet, knowing how to sauté onions and peppers properly will elevate your cooking to the next level. In this section, I’ll guide you through the steps to achieve perfectly caramelized onions and tender, vibrant peppers.
Ingredients needed
– 1 large onion, thinly sliced
– 1-2 bell peppers, thinly sliced
– Cooking oil (such as olive oil or vegetable oil)
– Salt and pepper to taste
What to do
1. Heat a large skillet or frying pan over medium heat.
2. Add enough cooking oil to coat the bottom of the pan. About 1-2 tablespoons should be sufficient.
3. Once the oil is hot, add the sliced onions to the pan, spreading them out evenly.
4. Sprinkle a pinch of salt over the onions to help them release their moisture and cook evenly.
5. Stir the onions occasionally to prevent them from sticking to the pan and to ensure even browning.
6. Cook the onions for about 10-15 minutes, or until they become translucent and develop a golden brown color. Adjust the heat if necessary to prevent burning.
7. Once the onions are caramelized to your liking, add the sliced bell peppers to the pan.
8. Sprinkle another pinch of salt and some freshly ground black pepper over the peppers.
9. Continue cooking the onions and peppers together for an additional 5-7 minutes, or until the peppers become tender-crisp.
10. Remove the skillet from the heat and serve the sautéed onions and peppers as a side dish or use them as a flavorful ingredient in your favorite recipes.
Tips for sautéing onions and peppers
- Use a wide skillet or pan to ensure the onions and peppers have enough space to cook evenly without overcrowding.
- Thinly slice the onions and peppers for faster and more even cooking.
- Adjust the heat as needed throughout the cooking process to avoid burning the onions and peppers.
- For added flavor, you can incorporate herbs and spices like garlic powder, paprika, or dried herbs while sautéing the onions and peppers.
- Sautéed onions and peppers can be stored in an airtight container in the refrigerator for up to 3-4 days. Reheat them gently in a skillet before serving.
How to cook salmon for quesadillas
The key to making perfect salmon quesadillas lies in cooking the salmon just right. Follow these simple steps to ensure your salmon is moist, flaky, and bursting with flavor.
Step 1: Preheat your oven
Preheat your oven to 375 degrees F (190 degrees C). This will provide the ideal cooking temperature for your salmon.
Step 2: Season the salmon
Line a baking sheet with parchment paper and place the salmon fillets on the sheet. Season the salmon with salt, pepper, and any other desired spices. This is your opportunity to get creative and tailor the flavors to your personal taste. Consider adding a sprinkle of cumin, paprika, or chili powder for an extra kick.
Step 3: Bake the salmon
Place the baking sheet in the preheated oven and bake the salmon for about 12-15 minutes (if in individual portions) or 20-30 (for a whole slab), or until it is cooked through. The exact cooking time will depend on the thickness of your salmon fillets.
Keep a close eye on them to avoid overcooking, as salmon can become dry if cooked for too long. If you like a little crunch around the edges, reduce the bake time and broil for 5-10 minutes at the end, instead.
Step 4: Flake the salmon
Once the salmon is done, remove it from the oven and let it cool slightly. Using a fork, gently flake the salmon into pieces. This will make it easier to distribute the salmon evenly throughout your quesadillas.
Assembling the perfect salmon quesadillas
Now that you have perfectly cooked salmon, it’s time to assemble your quesadillas. Here’s how to do it:
Step 1: Gather your ingredients
Before you start assembling your quesadillas, make sure you have all the necessary ingredients on hand. Here’s what you’ll need:
- Blackened salmon (flaked)
- Flour tortillas
- Shredded cheese (cheddar, Monterey Jack, or a blend)
- Sautéed onions and peppers
- Roasted garlic spread (optional)
- Fresh cilantro (for garnish)
- Sour cream, salsa, or guacamole (for serving)
Feel free to get creative with your fillings. You can add diced tomatoes, sliced avocados, or even a drizzle of hot sauce for an extra kick of flavor.
Step 2: Heat a skillet
Heat a skillet over medium-high heat. This will ensure that your quesadillas become nice and crispy.
Step 3: Assemble the quesadillas
Place a tortilla in the heated skillet and sprinkle a generous amount of shredded cheese on one half of the tortilla. This will act as the glue that holds your quesadilla together.
Next, add a layer of flaked salmon on top of the cheese. Be sure to distribute the salmon evenly to ensure each bite is bursting with flavor. If desired, spread a layer of roasted garlic spread on the other half of the tortilla for added depth of flavor.
Add a portion of sautéed onions and peppers on top of the salmon. The combination of the tender and slightly sweet onions with the crisp and colorful peppers will elevate the taste of your quesadillas.
Step 4: Fold and cook
Fold the tortilla in half, pressing it gently to seal the edges. Cook the quesadilla in the skillet for about 2-3 minutes on each side, or until the cheese is melted and the tortilla is golden brown and crispy.
Step 5: Serve and enjoy
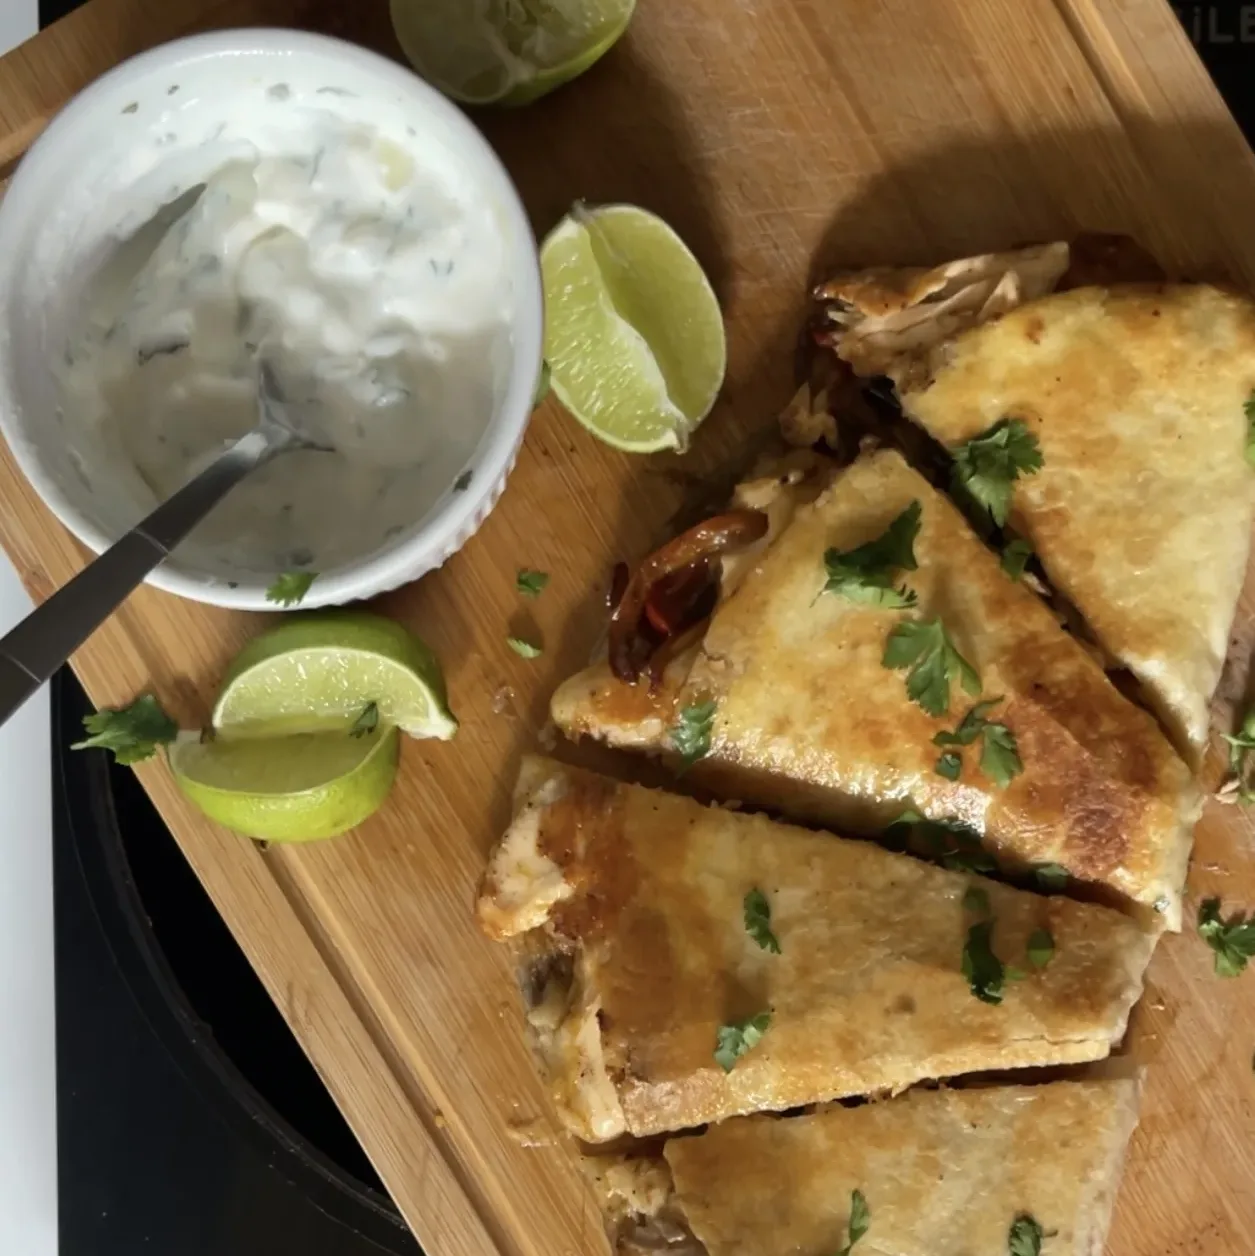
Once cooked to perfection, transfer the quesadilla to a cutting board and let it cool for a minute. Then, slice it into wedges and serve immediately with a dollop of sour cream, a spoonful of salsa, or a scoop of guacamole. Don’t forget to garnish with fresh cilantro for a pop of color and an extra burst of flavor.

Tips and variations
- Experiment with different cheeses to find your favorite combination. Pepper jack, mozzarella, or a blend of Mexican cheeses can add a unique twist to your quesadillas.
- Customize your quesadillas by adding your favorite toppings. Diced tomatoes, sliced avocados, or a squeeze of lime juice can take your quesadillas to the next level.
- For a spicier kick, add some jalapeño slices or a sprinkle of chili powder to your quesadillas.
- If you prefer a vegetarian option, you can omit the salmon and add extra vegetables, such as mushrooms or zucchini, to create a flavorful and nutritious filling.
- Serve your quesadillas with a side of Mexican rice, refried beans, or a fresh salad to complete the meal.
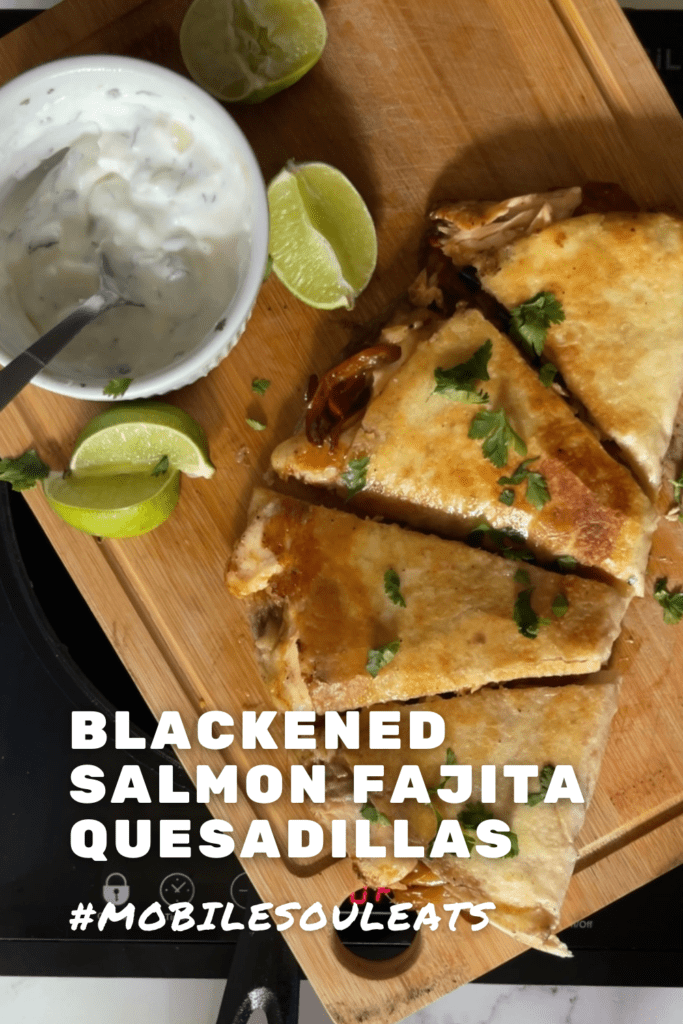
Blackened Salmon Fajita Quesadillas
Equipment
- Skillet or griddle
- Spatula
- Knife and cutting board
- Small mixing bowl
- Measuring spoons Optional
Ingredients
For the quesadillas:
- 1 teaspoon avocado oil or butter
- 2 flour tortillas large
- roasted garlic mashed
- 2 cup shredded cheese cheddar, Monterey Jack, or a blend
- 2 cups salmon blackened or baked, and then flaked
- 1-2 cups sautéed onions and peppers
- Fresh cilantro for garnish
- Lime wedges for garnish
For the dipping sauce:
- 3/4 cup Greek yogurt or sour cream
- 1/4 queso fresco crumbled
- juice of 1 lime
- 2 Tablespoons fresh cilantro chopped

Instructions
- Heat a skillet over medium-high heat.
- Place a tortilla in the heated skillet and sprinkle a generous amount of shredded cheese on one half of the tortilla.
- Add a layer of flaked salmon on top of the cheese.
- If desired, spread a layer of roasted garlic spread on the other half of the tortilla.
- Add a portion of sautéed onions and peppers on top of the salmon.
- Fold the tortilla in half and press gently to seal the edges.
- Cook the quesadilla in the skillet for about 2-3 minutes on each side, or until the cheese is melted and the tortilla is golden brown and crispy.
- Transfer the quesadilla to a cutting board and let it cool for a minute.
- Slice the quesadilla into wedges and serve immediately.
- Garnish with fresh cilantro.
- To make the dipping sauce: Combine all of the ingredients in a small mixing bowl and mix until everything is well incorporated.
Notes
- This dish is perfect for using up leftover baked salmon, but smoked or canned salmon would also work in a pinch. Make sure to drain excess liquid and remove any bones before assembling your quesadillas.