Summary
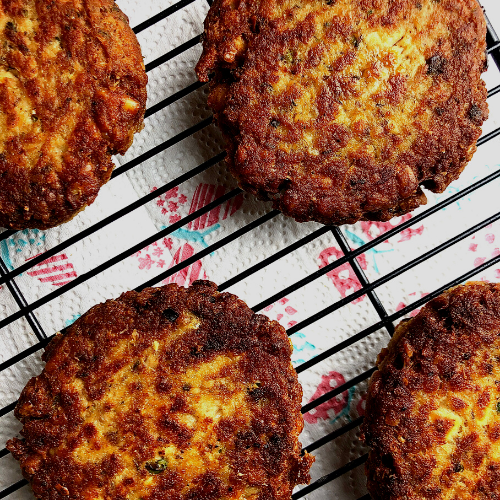
Whether you call them salmon cakes, salmon patties, or salmon croquettes, this recipe will provide you with a quick and easy protein option that’s perfect for breakfast, lunch, or dinner. With their crispy exterior, creamy interiors, and endless ways to alter and make the recipe your own, these salmon cakes are basically essential for any home cook’s arsenal. And, as a bonus, this recipe uses canned salmon, which can be bought and stored for months instead of fresh salmon, which should be used within 1-2 days.
Your Grocery List:
Produce
- Green onion
- Fresh garlic
- Lemons
Dairy
- Eggs
Pantry & Baking Items
- Canned salmon
- Peanut oil (or canola or vegetable oil), for frying
- Paprika
- Old Bay seasoning
- Dried parsley
- Worcestershire sauce
- Kosher salt
- Fresh ground black pepper
- Saltine crackers
Equipment you’ll need:
- Can opener
- Measuring spoons
- Knife & cutting board
- Mixing bowl
- Parchment paper
- Baking sheet
- Cast iron or nonstick pan
- Wire rack
- Paper towels
What’s a salmon cake?
Depending on where you’re from and how you were raised, you’ve probably heard salmon cakes called salmon croquettes or salmon patties. There are technical differences (see the next section), but all three involve the same process – combining flaky or mashed fish with seasonings and binders then frying.
Fish cakes in various forms are a universal dish, belonging to no single cuisine. Salted cod flakes and mashed potatoes are used to make fish cakes in Canada. Japan has several types of fried and steamed fish cake dishes. The same is the case for other Asian cuisines like Chinese, Indonesian, Thai, and Korean, just to name a few. Jewish cuisine has the gefilte fish which is a patty made of white fish and matzoh or challah. North African fish cakes are stewed in a fragrant fennel and tomato sauce.
In the US, recipes like this one that uses canned salmon gained popularity during the Great Depression. Due to government subsidies, Alaskan salmon was canned and made available to the hard-hit southern states for less than a nickel per can.
Southern cooks like my ancestors took this humble ingredient, combined it with minced onions, spices, flour, breadcrumbs, or crackers, and turned it into a dish that has been a fulfilling family favorite for generations.
Croquettes vs. Patties or Cakes
The technical difference is pretty simple. Croquettes are made with breadcrumbs of some sort and result in a salmon cake that is lighter and flakier. Patties are made with flour and this makes their texture more dense and creamy.

Making salmon cakes: an overview
Prepare salmon
Canned salmon may be intimidating to work with at first if you are unfamiliar with it. It is nowhere as fresh as fresh salmon (obviously), but there are major pros to balance out that con. Canned salmon lasts for a really long time and can be stored in the pantry until it is needed. It also creates a salmon patty that has a consistently crunchy crust with a creamy center.
To prepare canned salmon:
- Remove from can and drain most of the liquid.
- Carefully remove the larger (round) pieces of the salmon bones. Yes, there are bones in the can, but they are relatively easy to see and remove.
- Smash the remaining salmon to crush any other small bones that may be left. The canning process has softened all of the bones to the point where they can be chewed and eaten. Smashing them before making the salmon cakes will help reduce the chance that you will bite into or swallow a bone whole.
- Fluff salmon after smashing. The previous step will create a smooth mixture but you want to put some flakiness back into the mixture by fluffing the salmon after smashing. Adding air pockets will help incorporate the remaining ingredients and gives the finished salmon cakes a more pleasing texture.
Mix all ingredients together

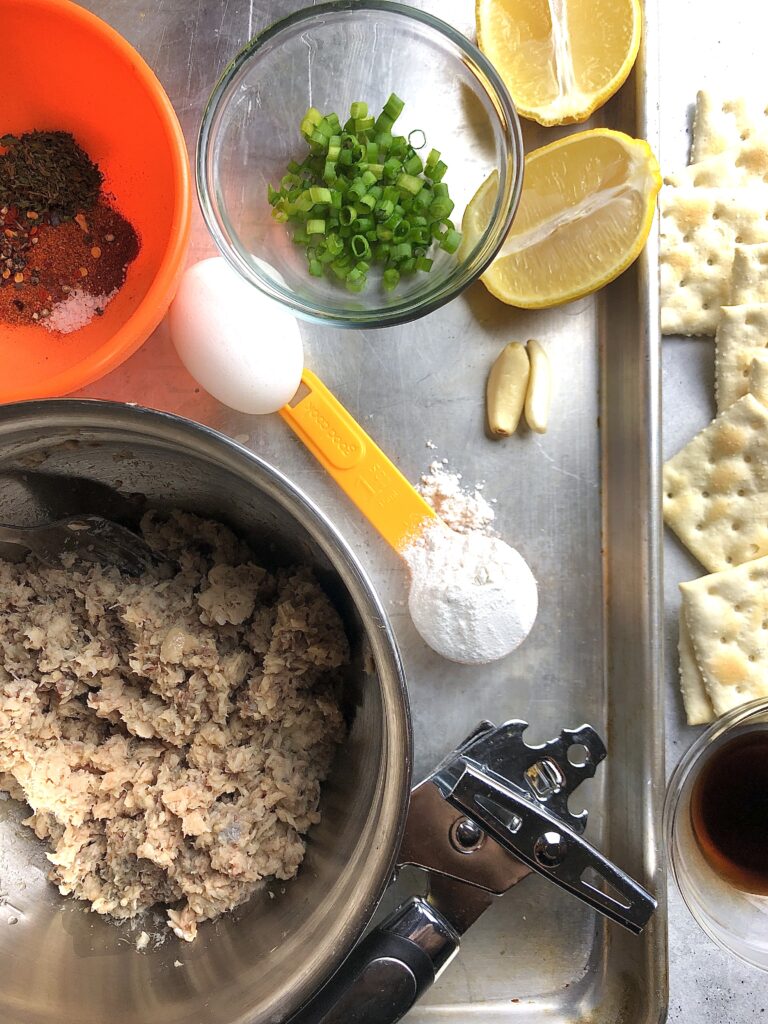
Salmon, crushed Saltine crackers, egg, Worcestershire sauce, flour, minced garlic, Dijon mustard, fresh green onions, dried parsley, seasonings, and lemon juice/zest are combined thoroughly in a single bowl.
Form salmon mixture into patties

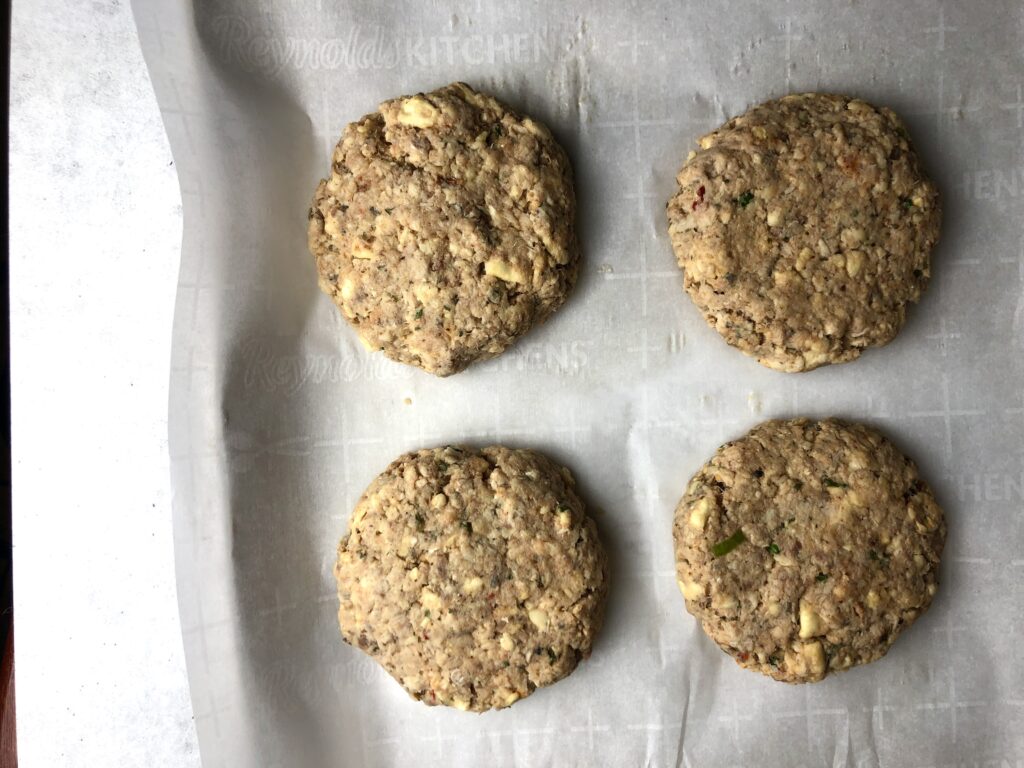
A single can of salmon can make between 4-8 salmon cakes, depending on their size. If making 4 larger patties, they should be about 1/2-inch thick. Smaller salmon patties will likely be thinner. The thinner the salmon patty, the less time it will take to cook through.
Use an ice cream scoop or large spoon to form the salmon mixture into balls then flatten. Place patties on a parchment-lined baking sheet.
Let the salmon cakes rest
Place patties in the refrigerator for at least 30 minutes. Chilling the patties after forming them gives the crackers and flour time to absorb any extra liquid in the patties. This forms a bond that helps keep the salmon cakes together during cooking.
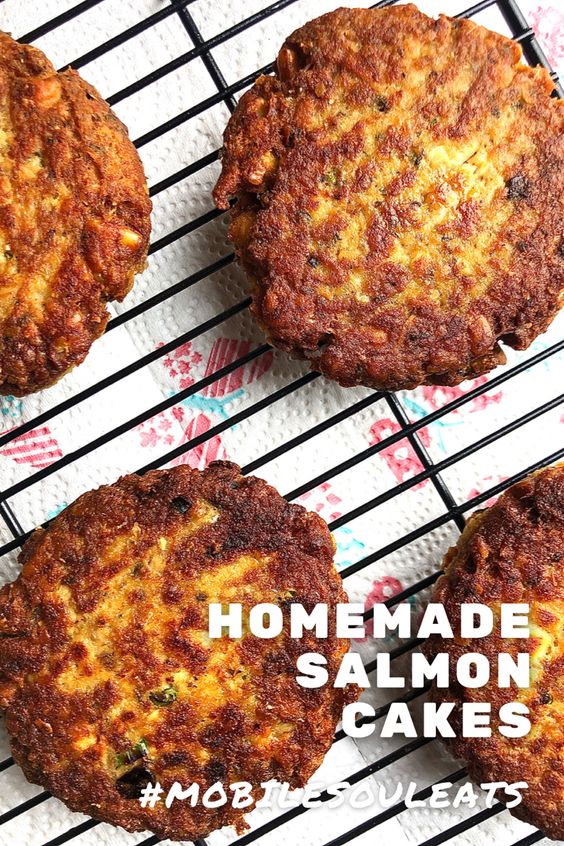
Fry and drain
Heat 2-3 tablespoons of oil (peanut, vegetable, or canola) to a cast iron or nonstick pan. Cook each patty for 3-4 minutes on the first side then flip and continue cooking for 2-3 minutes on the second side.
Remove from pan and drain on a wire rack set over a paper towel to get rid of excess oil.
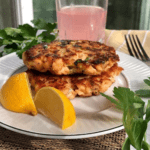
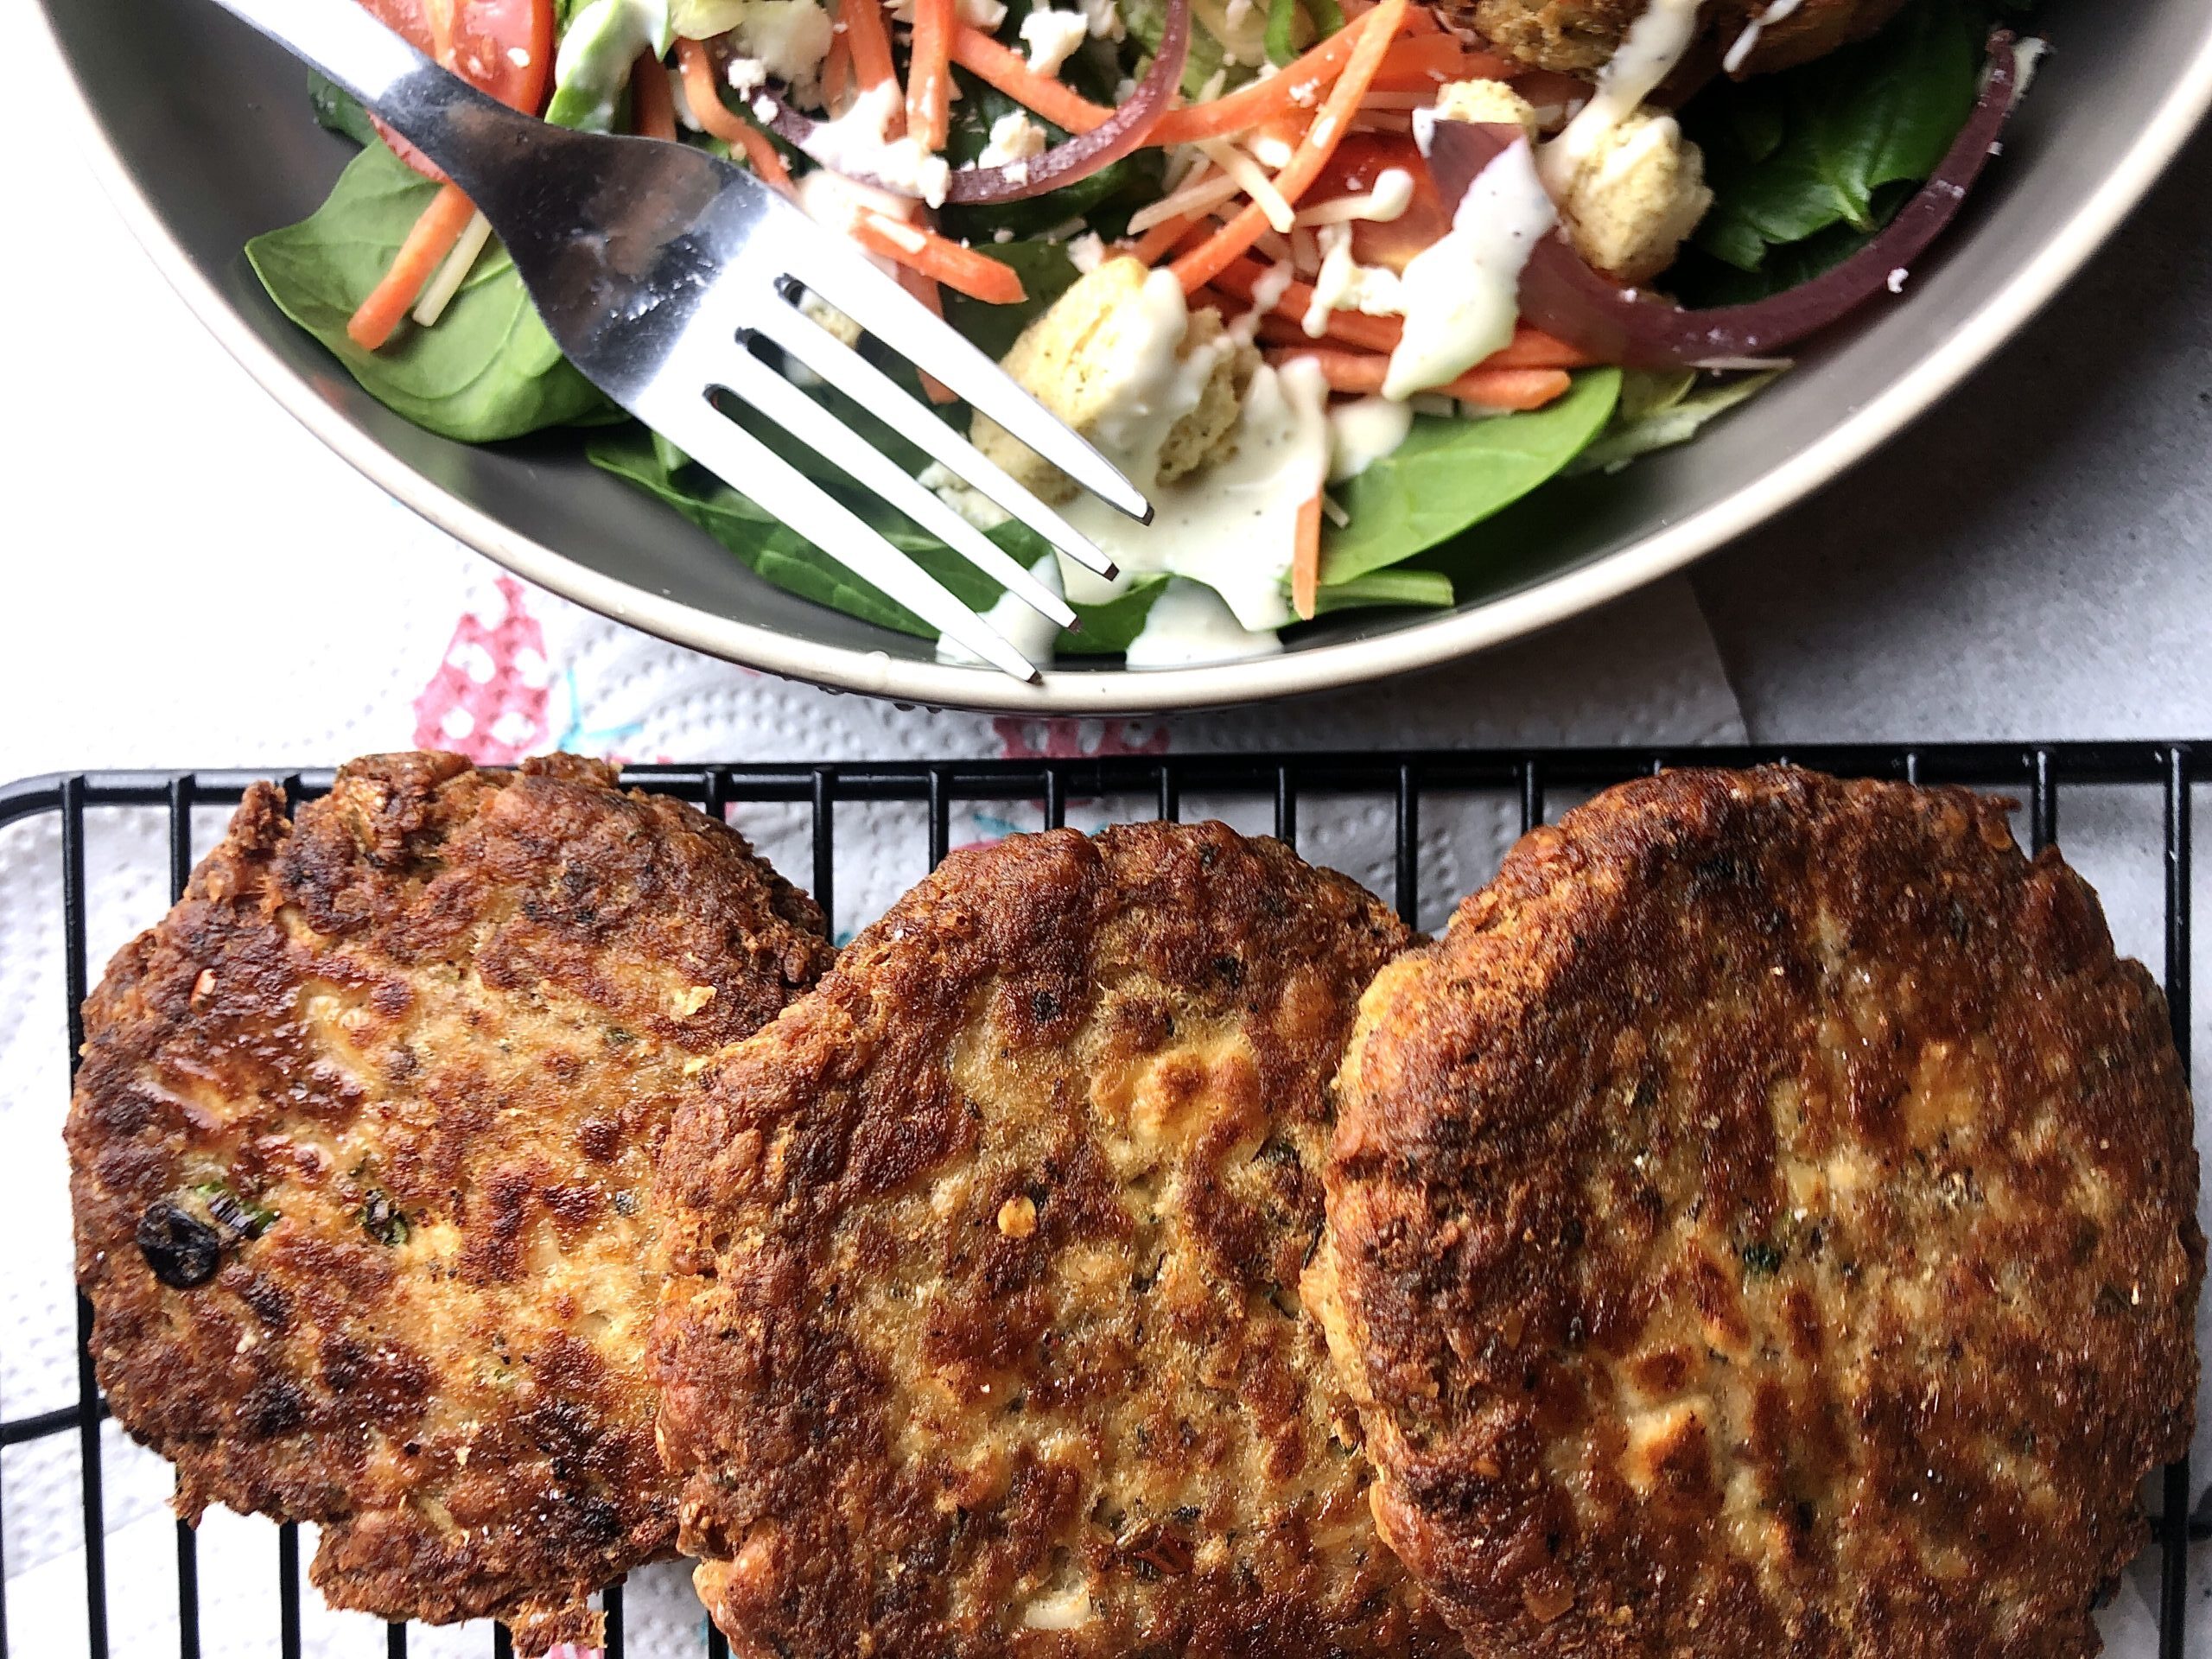
Enjoy!
Salmon cakes are delicious plain or simply sprinkled with lemon juice and chives. They go perfectly with a creamy bowl of grits. You can pair them with a creamy dipping sauce, alongside steamed or roasted vegetables, or enjoy them on top of a salad. They can even be made into sandwiches, burgers, and tacos!

Tips and tricks to keep in mind
- Chill the formed patties. The trick to perfect salmon cakes is to make the patties moist, but not wet enough that they won’t stay together. The wet ingredients (worcestershire sauce, salmon juice and lemon juice) hydrate the dry ingredients and form a bond that is strengthen over time. This is why chilling the formed patties for at least 30 minutes is important.
- Reserve the juice from the can. If your patties are too dry and won’t come together nicely into a patty, add 1 teaspoon of the reserved juice from the can at a time until the mixture is moist enough. If the mixture becomes too moist, add more crackers, breadcrumbs, or flour (1 teaspoon at a time) until it is just right.
- Switch up your binders. Substitute the saltine crackers for Ritz crackers, breadcrumbs, flour, or some combination of these. Cooked and cooled mashed potatoes or potato flakes would also work, but the texture of the final cake will be even more dense than if you’re using just flour.
- Feel free to use a food processor for mashing. Food processors will make quick work of any remaining soft bones that may be left in your salmon, but it will also turn the salmon into mush. This isn’t a bad thing! It just depends on how uniform and creamy you like your salmon cakes. If you want to preserve some of the texture and flakiness of the fish, skip the food processor and mash the bones with a fork.
- Use fresh salmon. Cook 14 oz. of fresh salmon and let it cool before using it in this recipe.
- Don’t skip the lemon. Use lemon juice or lemon zest, but, by all means, don’t forget the lemon. It adds acidity and a bright punch of fresh flavor along with the fresh parsley to this fried dish.
- A note about onions: Traditionally, yellow onions are minced and added to the salmon mixture, but I enjoy the grassy, mild onion-y flavor of green onions. If you want the more traditional yellow onions, but want to tone down their pungent flavor, cook the minced onions for 2-3 minutes in olive oil or unsalted butter and drain before adding to the salmon mixture.
Ways to spruce up your salmon cakes
Add some spice
Sprinkle in 1/2 to 1 teaspoon of cayenne pepper or red pepper flakes.
Make lemon pepper salmon cakes
Adding 1 teaspoon of your favorite seasoning blend (like lemon pepper) is an easy way to take your salmon cakes to another level.
Consider pairing your salmon cakes with any of the following sauces
Creamy mustard sauce
- 1/4 cup mayo
- 1/4 cup sour cream
- 2 Tablespoons dijon
- 2 Tablespoons minced chives
- 1/4 teaspoon dried dill and/or parsley
- 1/2 teaspoon garlic powder
- 1 teaspoon hot sauce
Spicy mayo
- 1 cup mayonnaise
- 1 teaspoon dijon
- 1 teaspoon hot sauce
- 1 Tablespoon bottled cocktail sauce
- 1 Tablespoon lemon juice
- 1/4 teaspoon salt
- 1/4 teaspoon ground black pepper
Lemon herb yogurt sauce
- 1 cup plain greek yogurt
- 2 Tablespoons fresh dill, chopped
- 2 teaspoons lemon zest and/or juice
- 1 Tablespoon olive oil
Salmon Cakes (with canned salmon)
Equipment
- Can opener
- Measuring spoons
- Knife & cutting board
- Mixing bowl
- Parchment paper
- Baking sheet
- Cast iron or nonstick pan
- Wire rack
- Paper towels
Ingredients
- 14.75 oz canned salmon + 2 Tablespoons of reserved salmon liquid
- 1 cup crushed saltine crackers
- 1 egg
- ¼ teaspoon kosher salt
- ¼ teaspoon ground black pepper
- 3 Tablespoon green onion sliced
- 2-3 garlic cloves minced
- 1 Tablespoon fresh lemon juice
- 1 Tablespoon Worcestershire
- 1 Tablespoon dried parsley
- 1 teaspoon old bay
- ½ teaspoon paprika
- 3 Tablespoons peanut oil or canola or vegetable oil

Instructions
- Open the can of salmon and drain all but 2 tablespoons of the liquid.
- Place the salmon in a bowl and carefully remove larger (circular) bones and mash smaller ones with a fork.
- Use the fork to fluff the salmon if mashing has smashed it all into a single ball.
- Add the remaining ingredients to the bowl and mix thoroughly.
- Form the salmon mixture into 4 large balls. Flatten into patties and place on a sheet of parchment paper. They will be about 1/2-inch thick. If you want thinner patties, the mixture can be divided into 6-8 portions.
- Chill in the fridge for 30 minutes.
- After chilling, heat oil over medium heat. Cook for 3-4 minutes on the first side. Flip and continue cooking for another 2-3 minutes or until both sides are golden brown.
- Drain on paper towels then sprinkle with lemon juice, fresh parsley, and/or chives before serving.
Notes
- Substitute the canned salmon for 14 oz. of cooked fresh salmon.
- Crackers and flour can be substituted for breadcrumbs or torn apart pieces of bread.
- Green onions can be substituted for 1/4 of a medium yellow onion, minced.
- If using fresh parsley instead of dried parsley, double the amount.
- Add 1/4 teaspoon red pepper flakes for some spice.
- Feel free to use 1-2 teaspoons of lemon zest instead of lemon juice. Or one teaspoon of each.